


Comprehensive Guides
Enhance your expertise using infographics, specialized tools, comprehensive articles, and engaging interactive content.

Editorial Policies
Comprehensive 25-step evaluation methods used in every content we publish on this website by relying on our own reviews and experiences.

Responsible Gambling
Complying with Responsible gambling, discover valuable advice and resources catered for individuals facing gambling challenges worldwide.
Welcome to LinuxG Casino, the quintessential guide to the world of online casinos in India.
This comprehensive review provides insights into diverse game categories, highlights popular games, and explores prominent providers.
It also delves into the innovative technologies of live casino gaming, independent review processes, and offers strategic gaming guides.
What We’ll Discuss
ShowThis ultimate guide aims to equip both novice and seasoned players with the knowledge to navigate the dynamic terrain of online casinos successfully.
What is LinuxG Casino?
LinuxG Casino, a major player in the online gaming industry, has emerged as a go-to platform for enthusiasts, especially in India.
The platform’s prominence lies in its unique blend of primary services and a myriad of game offerings, catering to a diverse set of gaming preferences.
A deeper understanding of LinuxG Casino will reveal the specifics of its operations and why it stands out in the competitive online casino market.
Overview of LinuxG Casino’s Prominence
Established as a key player in the online casino industry, LinuxG Casino boasts an impressive portfolio of awards and unique features that make it stand out in the competitive market.
As a premier online casino India, it has carved out a niche for itself as a trusted and reliable platform for the Indian online casino community.
LinuxG Casino, recognized as the best online casino in India, is revered for its robust gaming suite, secure transactions, and stellar customer service.
Its commitment to delivering a premier gaming experience has solidified its position as the best casino online.
The casino’s prominence in the industry is a testament to its unwavering dedication to quality, innovation, and user satisfaction, making LinuxG Casino the ultimate destination for online gaming in India.
Primary Services and Game Offerings
While LinuxG Casino’s prominence in the industry is indisputable, its primary services and exceptional range of game offerings are what truly differentiate it as a premier online casino in India.
This Indian casino online platform offers a multitude of opportunities for players to engage in online casino games real money betting.
The primary services and game offerings include:
- Live casino India: LinuxG Casino brings the thrill of real-time gaming to players’ screens.
- Variety of games: From classic table games to innovative slots, it has something for every player.
- Real money betting: LinuxG Casino is a leading platform for online casino India real money gaming.
- User experience: The platform is designed for easy navigation and seamless gameplay, making it a top choice for casino games online real money betting.
Diverse Online Casino Game Categories Available
In exploring the vast landscape of LinuxG Casino, one cannot overlook the extensive range of online game categories available.
Each category offers a unique interactive experience, contributing to the comprehensive gaming environment.
Our discussion will now focus on these various online casino game types, highlighting their distinctive features and gameplay.
Introduction to Online Casino Game Varieties
Online casinos, such as LinuxG Casino, offer an extensive range of game varieties catering to diverse player preferences.
From the thrill of online slots and live casino games to the strategical allure of card and table games, the options are vast and varied.
Further, the inclusion of unique options such as fish shooting games and instant games adds another dimension to the online gaming experience.
Online Slots Overview
Although LinuxG Casino offers a wide variety of casino games, it is the world of online slots that truly showcases the diversity and innovation of this online platform.
Online slots at this online casino India are:
- Diverse in themes and mechanics
- Innovative in gameplay features
- Constantly expanding with new releases
- A major part of the casino game online experience.
Features of Live Casino Games
Transitioning from online slots, LinuxG Casino showcases an impressive array of live casino games, offering an immersive, real-time gaming experience akin to traditional brick-and-mortar casinos.
The casino in India presents diverse online casino games, allowing players to interact live, creating a thrilling atmosphere.
| Live Casino Online | Interaction | Experience |
|---|---|---|
| LinuxG Casino | Real-time | Immersive |
| Casino in India | Live Interaction | Thrilling |
| Casino Games Online | Diverse Games | Engaging |
Card & Table Games Insight
Diversity is a hallmark of LinuxG Casino’s offering, particularly evidenced in its extensive selection of card and table games that cater to both novice and experienced players.
This best online casino presents a variety of real money online casino games including:
- Blackjack: A classic casino game requiring strategy and luck.
- Poker: Offers multiple variations for diverse gameplay.
- Roulette: A game of chance with different betting options.
- Baccarat: Popular for its simple rules and fast-paced action.
Fish Shooting Games Details
Among the plethora of gaming options available on LinuxG Casino, the visually captivating Fish Shooting games offer a unique blend of entertainment and challenge.
These casino online games for real money engross players with their fast-paced, competitive nature.
As a real money casino online, LinuxG allows players to enjoy these casino games real money, thus enhancing the thrill of these casino online games for real money.
Instant Games Description
While the allure of Fish Shooting games is undeniable, LinuxG Casino also caters to players seeking immediate, versatile gameplay through a category known as instant games.
These games offer a chance to win casino online real money instantly. They include:
- Online scratch cards: A real money online casino classic.
- Keno: An online casino game real money lottery-style game.
- Bingo: A popular casino game online real money.
- Virtual sports: Bet on online casino games with real money outcomes of virtual matches.
Spotlight on Popular Games
In our quest to enhance your online gaming experience, we now turn our attention to the most coveted games on LinuxG Casino.
A thorough analysis of these games will shed light on their unique features that make them a top choice for players. Understanding these elements not only enhances gameplay but also optimizes the winning potential for each player.
Highlighted Games and Their Features
In our exploration of LinuxG Casino, we’ll examine key features of standout games such as Aviator by SPRIBE, Baccarat Live, and the Crazy 777 Slots.
Each game presents unique gameplay mechanics, visually pleasing graphics, rewarding systems, and distinctive traits that set them apart in the online casino industry.
This analysis will provide a comprehensive understanding of these games, setting the stage for potential players in India.
Aviator by SPRIBE
Among the plethora of games available on LinuxG Casino, Aviator by SPRIBE distinctly stands out due to its unique gameplay and objectives. This game has become popular on numerous casino sites and offers:
- An exciting casino bonus
- A refreshing alternative to roulette casino games
- A reputation as one of the best casino games
- A unique gameplay different from traditional casino roulette
Aviator game tricks are available everywhere, and we also have covered it into a comprehensive guide.
Next, we delve into the rising popularity of baccarat live.
Baccarat Live Popularity
The allure of Baccarat Live, another highlight in LinuxG Casino’s captivating game roster, is largely attributed to its straightforward rules, interactive gameplay mechanics, and its inherent appeal to both novice and seasoned players.
Its popularity is further fueled by the no deposit bonus casino feature, making it an irresistible part of the no deposit casino bonus package.
Next, we delve into the thrilling world of the crazy 777 slots game.
Crazy 777 Slots Game Details
Embodying the spirit of traditional casino gaming, Crazy 777 Slots presents a fusion of classic aesthetics and modern features that captivate a broad spectrum of players on LinuxG Casino.
- Theme: Vintage Casino with a modern twist
- Features: High-definition graphics & immersive music
- Bonuses: Multipliers, free spins & jackpot rounds
- Popularity: High engagement rates on LinuxG Casino
Its popularity is testament to its quality, offering players an exciting, reliable, and rewarding gaming experience.
Deep Dive into Online Casino Game Providers
Examining the landscape of online casino game providers is instrumental in understanding the core of LinuxG Casino’s offerings.
Each provider brings a unique flavor to the gaming experience, marked by innovative technologies and diverse game selections.
In the following discussion, we will assess the major contributors in this field, highlighting their specific impact on the online casino industry in India.
Major Online Casino Game Providers Overview
In the realm of online gaming, the quality of the gaming experience heavily relies on the prowess of the game providers.
With LinuxG Casino, a variety of renowned game providers contribute to its vast array of offerings, each with its own unique characteristics, reputation, and standout games.
This analysis will provide an overview of these major game providers, focusing on their unique contributions and most popular games.
Unique Offerings from Each Provider
Each provider’s unique offerings at LinuxG Casino significantly differentiate them from their competitors in the online gaming industry.
- Pragmatic Play is renowned for its immersive 3D slots.
- Evolution Gaming excels in live casino games, bringing a realistic experience.
- Kingmaker offers a wide range of innovative cards and table games.
- JILI stands out with its progressive jackpot slots, offering massive payouts.
Standout Games from Providers
Pragmatic Play’s flagship game, recognized for its immersive 3D slots, sets the stage for a deep dive into the standout games from major online casino game providers.
Let’s analyze their offerings:
| Provider | Flagship Game | Key Features |
|---|---|---|
| Pragmatic Play | Immersive 3D Slots | High-quality graphics, engaging gameplay |
| Kingmaker | Classic Blackjack | Authentic casino experience, strategic gameplay |
| JILI | Progressive Jackpot Roulette | Huge potential wins, thrilling gameplay |
Evolution Gaming’s Live Casino Technologies
In the realm of live casino technologies, Evolution Gaming has proven to be a prominent innovator. Their contributions have significantly enhanced the online casino experience, bolstering its appeal to gamers across India. Particularly in its partnership with LinuxG Casino,
Evolution Gaming has brought about specific advancements that have had a significant impact on the overall operation of LinuxG Casino.
This section will examine the specifics of these advancements and their impact on the overall operation of LinuxG Casino.
Contributions of Evolution Gaming
Evolution Gaming has significantly transformed the landscape of LinuxG Casino by introducing innovative live casino technologies.
Their distinctive contributions have elevated the gaming experience, incorporating advanced features and popular games that engage players on a new level.
In the course of this discussion, we will examine the popular games and their features introduced by Evolution Gaming.
Popular Games and Their Features
The impressive portfolio of Evolution Gaming boasts a myriad of popular games, each distinguished by unique gameplay mechanics, immersive live features, and engaging player interactions.
- Live Blackjack: Offers multi-player functionality and side bets.
- Roulette Live: Provides slow-motion replays for an engaging experience.
- Lightning Roulette: Features randomly generated lucky numbers.
- Dream Catcher: A unique game show-style offering with multipliers.
These games highlight Evolution Gaming’s commitment to innovation and immersive live gaming experiences.
SPRIBE’s Innovative iGaming Products
Shifting our focus to another key player in the online gaming industry, we turn to SPRIBE and their innovative iGaming products.
Known for their high-quality games, SPRIBE is changing the face of online gaming with their unique and engaging offerings.
As we review their portfolio, we will see how SPRIBE’s products enhance the gaming experience on LinuxG Casino.
SPRIBE’s Game Offerings Overview
When we appraise the iGaming landscape in India, SPRIBE emerges as a trailblazer with its distinctive game offerings.
The company sets itself apart with innovative mechanics, stunning graphics, and an unwavering commitment to creating immersive gaming experiences that resonate with players.
In the following discussion, we will explore these unique elements that position SPRIBE at the forefront of the online casino industry.
Unique Gaming Experiences by SPRIBE
Boasting a diverse array of more than 100 innovative games, SPRIBE offers unique and immersive gaming experiences to players on LinuxG Casino.
- Highly interactive user interfaces that ensure engaging gameplay.
- Innovative game design that pushes the limits of iGaming.
- Cutting-edge technology that guarantees smooth and seamless gaming.
- A wide variety of game themes catering to diverse player preferences.
JILI’s Unique Casino Game Collection
JILI, as an established game provider, has carved a niche for itself in the online casino landscape with its unorthodox and captivating collection of games.
Offering a unique blend of traditional and modern gaming concepts, JILI’s portfolio continues to attract a diverse player base.
An analysis of their offerings and player reviews will illuminate the factors that contribute to their distinctiveness in the competitive casino industry.
JILI as a Game Provider
As a prominent game provider, JILI has a noteworthy track record in the online casino industry. It has developed an array of unique casino games for platforms like LinuxG Casino, contributing to the vibrant gaming landscape of Online Casino India.
In the following discussion, we will analyze the standout games from JILI’s portfolio, focusing on their distinctive characteristics and their impact on the gaming experience.
Standout Games by JILI
Among the plethora of online casino game providers, JILI stands out with its unique and engaging collection of games on LinuxG Casino.
- Innovative gameplay mechanics that challenge and excite players.
- A wide variety of themes catering to diverse player preferences.
- High-quality graphics and immersive sound effects for an authentic casino experience.
- User-friendly interfaces and functionalities, making games accessible to all levels of players.
Kingmaker Games: Blending Tradition with Modernity
Kingmaker Games, a renowned name in the online casino industry, has carved a unique niche through the marriage of traditional and modern gaming elements.
Their vision and offerings showcase an impressive fusion of classic game features with cutting-edge technology, creating a distinctive gaming experience.
This blend is a testament to their commitment to innovation while respecting the charm and allure of traditional gaming.
Kingmaker Games’ Vision and Offerings
Kingmaker Games, a key player in the online casino industry, has successfully merged traditional gaming aesthetics with modern technological innovation.
Their vision and offerings encapsulate this blend, presenting a unique gaming experience for users of LinuxG Casino.
A further exploration of their popular games will shed light on how they continually meet the demands of the ever-evolving online gambling landscape in India.
Popular Games by Kingmaker
Specializing in the fusion of traditional and modern gaming elements, Kingmaker Games has captivated the Indian online casino scene with a selection of highly recommended and widely played games.
- High player engagement
- Innovative themes
- Unique gameplay mechanics
- Positive player feedback
These aspects set Kingmaker apart, making them a noteworthy contender in the online casino market.
The subsequent section will delve into Ezugi’s region-specific live casino content.
Ezugi’s Region-Specific Live Casino Content
Ezugi has strategically set itself apart in the online casino industry by customizing live casino content to cater to specific regions.
This innovative approach not only enhances user experience but also increases player engagement and retention for platforms like LinuxG Casino.
This section will analyze the specifics of Ezugi’s region-specific offerings and their implications on the Indian online casino landscape.
Ezugi’s Tailored Game Content
Ezugi has established itself as a leading name in the online gaming industry, particularly for its region-specific live casino content.
It offers an array of classic and custom game formats, specially tailored to cater to Indian players at LinuxG Casino.
These bespoke offerings are designed to resonate with the cultural nuances and player preferences in India, thus enhancing the overall gaming experience.
Classic and Custom Game Formats by Ezugi
In the realm of online casinos, the blend of classic and custom game formats offered by Ezugi stands out due to their unique gameplay, intricate features, and astute regional adaptations.
- Their innovative approach aligns with player preferences.
- They offer diverse gaming experiences.
- Ezugi’s regional adaptations cater to local tastes.
- Their multi-platform compatibility enhances user experience.
Pragmatic Play’s Diverse iGaming Suite
Pragmatic Play, a leading software provider in the iGaming industry, offers an extensive suite of games that cater to a diverse range of players on the LinuxG Casino platform.
This suite showcases a remarkable mixture of classic favorites and innovative concepts, all characterized by high-quality graphics and immersive gameplay.
Evaluating the variety and quality of Pragmatic Play’s offerings is crucial in understanding their contribution to the online gaming landscape in India.
Overview of Pragmatic Play’s Game Variety
In assessing the diversity of Pragmatic Play’s iGaming suite, it becomes clear that the company offers a broad range of games.
From slots to live casino options, each game is enriched with unique features that cater to a variety of player preferences.
An exploration of these games, along with respective player reviews, will provide a comprehensive overview of the gaming experience Pragmatic Play offers.
Slots, Live Casino, Bingo, and More
While LinuxG Casino offers a plethora of gaming options, it’s the diverse suite of Pragmatic Play games, including slots, live casino, and bingo, that truly sets it apart in the realm of online casinos in India.
- Slots: Varied themes, multiple paylines, and exciting bonus features.
- Live Casino: Real-time interaction, immersive experience.
- Bingo: Traditional and innovative formats, instant wins.
- More Games: Constantly updated with fresh, engaging content.
Current Promotions & Bonus Offerings
LinuxG Casino frequently updates its promotional offerings to provide enhanced gaming experiences and added value to its players.
These promotions not only serve as an incentive for new customers but also reward the loyalty of existing ones.
To fully appreciate these bonus offerings, it is essential to understand their scope, terms, and potential benefits.
Overview of Ongoing Promotions
Promotions and bonus offerings are key aspects that define the competitive edge of an online casino. In the case of LinuxG Casino, there exists a variety of ongoing promotions that are tailored to enhance the gaming experience for its users.
This section will provide an in-depth analysis of these promotions, focusing on their unique features, potential benefits to players, and their respective durations.
7cric’s Trustworthiness and Offerings
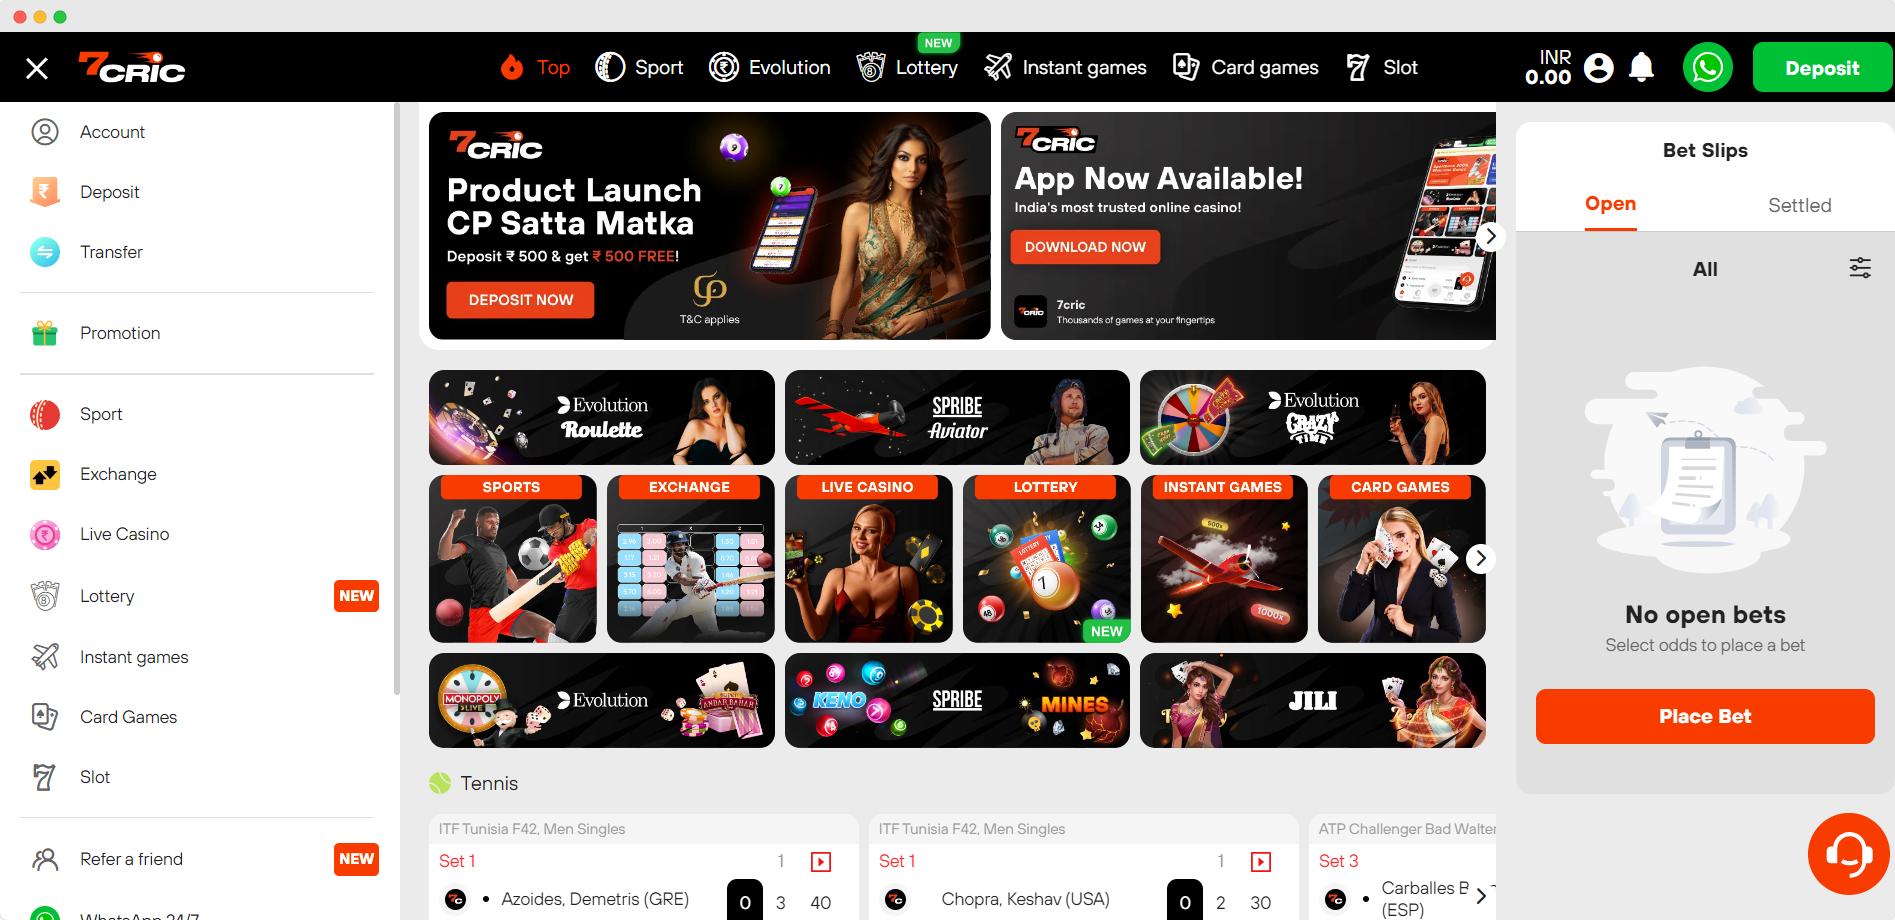
As one of the most reputable online casinos in India, 7cric offers a plethora of ongoing promotions and bonus offerings, demonstrating its commitment to providing an exceptional gaming experience.
Their offerings include:
- Regularly updated promotions
- Generous bonus offerings
- A wide range of games including the Aviator game
- Trustworthy operations backed by globally recognized iGaming licenses.
Independent Reviews and Their Process
Understanding the methodology behind independent reviews is crucial for making informed decisions in the online casino world.
At LinuxG Casino, we ensure that our reviews are conducted with transparency, reliability, and precision.
Let’s examine the process we adhere to when evaluating games and providers on our platform.
Review Methodology Insight
In the realm of online casinos, independent reviews play an integral role in influencing user choices.
For LinuxG Casino, these reviews are underpinned by a meticulously designed methodology that ensures a comprehensive and unbiased evaluation of online casino games.
This systematic process probes into every significant aspect, from gameplay and graphics to security and customer service, providing a 360-degree perspective on the online casino in question.
Our Evaluation Process Details in Writing Online Casino Game Reviews
Numerous factors come into play in our comprehensive evaluation process for writing online casino game reviews at LinuxG Casino.
We focus on game variety and quality, user interface and experience, security measures and fair play, and customer service and support.
Our reviews are designed to provide accurate, insightful, and unbiased information to enhance your online gaming experience.
Comprehensive Gaming Guides and Resources
LinuxG Casino offers an extensive array of gaming guides and resources, designed to enhance the player’s experience and expertise.
These guides, rich in their content and practical in their application, serve to equip gamers with the necessary knowledge to optimize their strategic play.
From beginner tutorials to advanced strategies, these resources are a pivotal component in the overall gaming experience at LinuxG Casino.
Available Gaming Guides List
Navigating the world of online casinos can be a daunting task, especially for those new to this digital realm.
LinuxG Casino offers a comprehensive range of gaming guides to equip players with the necessary tools and strategies, from basic tutorials for beginners to advanced techniques for experienced players.
These resources not only aim to enhance gameplay, but also to promote responsible gambling, reinforcing LinuxG Casino’s commitment to a safe and enjoyable gaming experience for all.
Overview of Our Editorial Policies
Adhering to rigorous editorial standards, we provide comprehensive gaming guides and resources that uphold our commitment to accuracy, transparency, and the welfare of our players through our Publishing Principles.
Our policies encompass:
- Ensuring accurate, timely information
- Maintaining transparency in our reviews and guides
- Prioritizing player welfare in our content
- Regularly updating our resources for relevance
We strive for clarity, conciseness, and precision in our contributions.
Responsible Gambling Resources
In our commitment to player welfare, we offer a selection of responsible gambling resources. These resources form an integral part of our comprehensive gaming guides.
These resources range from self-exclusion tools and deposit limits to professional counseling referrals.
We analyze player behavior and provide timely intervention and guidance. This helps us establish a secure, fair, and responsible gaming environment at LinuxG Casino.
Latest Casino Tips, Strategies, and Guides
In the constantly evolving landscape of online casinos, staying updated with the latest strategies and tips is crucial for both beginners and seasoned players.
LinuxG Casino is a front-runner in the industry, continuously introducing fresh and effective gameplay guides to improve your winning potential.
We will now discuss these new strategies and tips, providing an analytical overview of how you can use them to optimize your gaming experience.
Recent Tips and Game Strategies Overview
Understanding and applying the latest game-specific strategies can significantly enhance your casino experience, whether you’re a beginner or a veteran player.
These strategies, carefully crafted through extensive research and analysis, can improve your odds of winning.
In this section, we will discuss the contemporary tips and strategies for popular casino games, enabling players to make informed decisions while enjoying online casino games.
Game-Specific Strategies Introduction
Delving into game-specific strategies can significantly enhance your gaming experience and improve your winning odds at LinuxG Casino.
- Familiarize with game rules and dynamics
- Understand the house edge for different games
- Practice games in free mode before wagering real money
- Stay updated with latest strategies and tips
These steps can provide a solid foundation to start exploring specific strategies for each game.
Concluding Thoughts on LinuxG Casino
As we conclude our comprehensive analysis of LinuxG Casino, it’s pivotal to encapsulate its industry significance.
We’ve observed its dynamic offerings, which have shaped the online gaming industry in India.
Lastly, we will project its future prospects, providing a holistic view of this online casino’s potential.
Recap of LinuxG Casino’s Industry Significance
In concluding our discussion on LinuxG Casino, we must acknowledge its significant impact on the online casino industry, particularly in India.
This platform has made noteworthy contributions through its unique innovations, and its player-centric approach has paved the way for a more interactive and satisfying gaming experience.
Moreover, its adherence to betting regulations has not only fostered a safer gambling environment but also set a commendable standard for other online casinos to follow.
Reminder on Betting Regulations
The adherence to both local and international betting regulations is a crucial aspect of engaging in online casino activities on LinuxG Casino.
- Compliance ensures legitimacy and fairness of games.
- It protects players from potential fraud.
- Upholding regulations promotes responsible gambling.
- Non-compliance can lead to severe legal consequences.
This secures LinuxG Casino’s reputation as a trusted platform in the online gaming industry.
LinuxG Casino: Your All In-One Online Casino Resources
LinuxG Casino, an online gambling platform in India, offers a diverse range of gaming categories, powered by leading providers such as Evolution Gaming.
With its plethora of resources, gaming guides, and strategies, it ensures a comprehensive and immersive experience for users.
This platform, reinforced by independent reviews, stands as a testament to the dynamic and growing landscape of online casinos in India.